
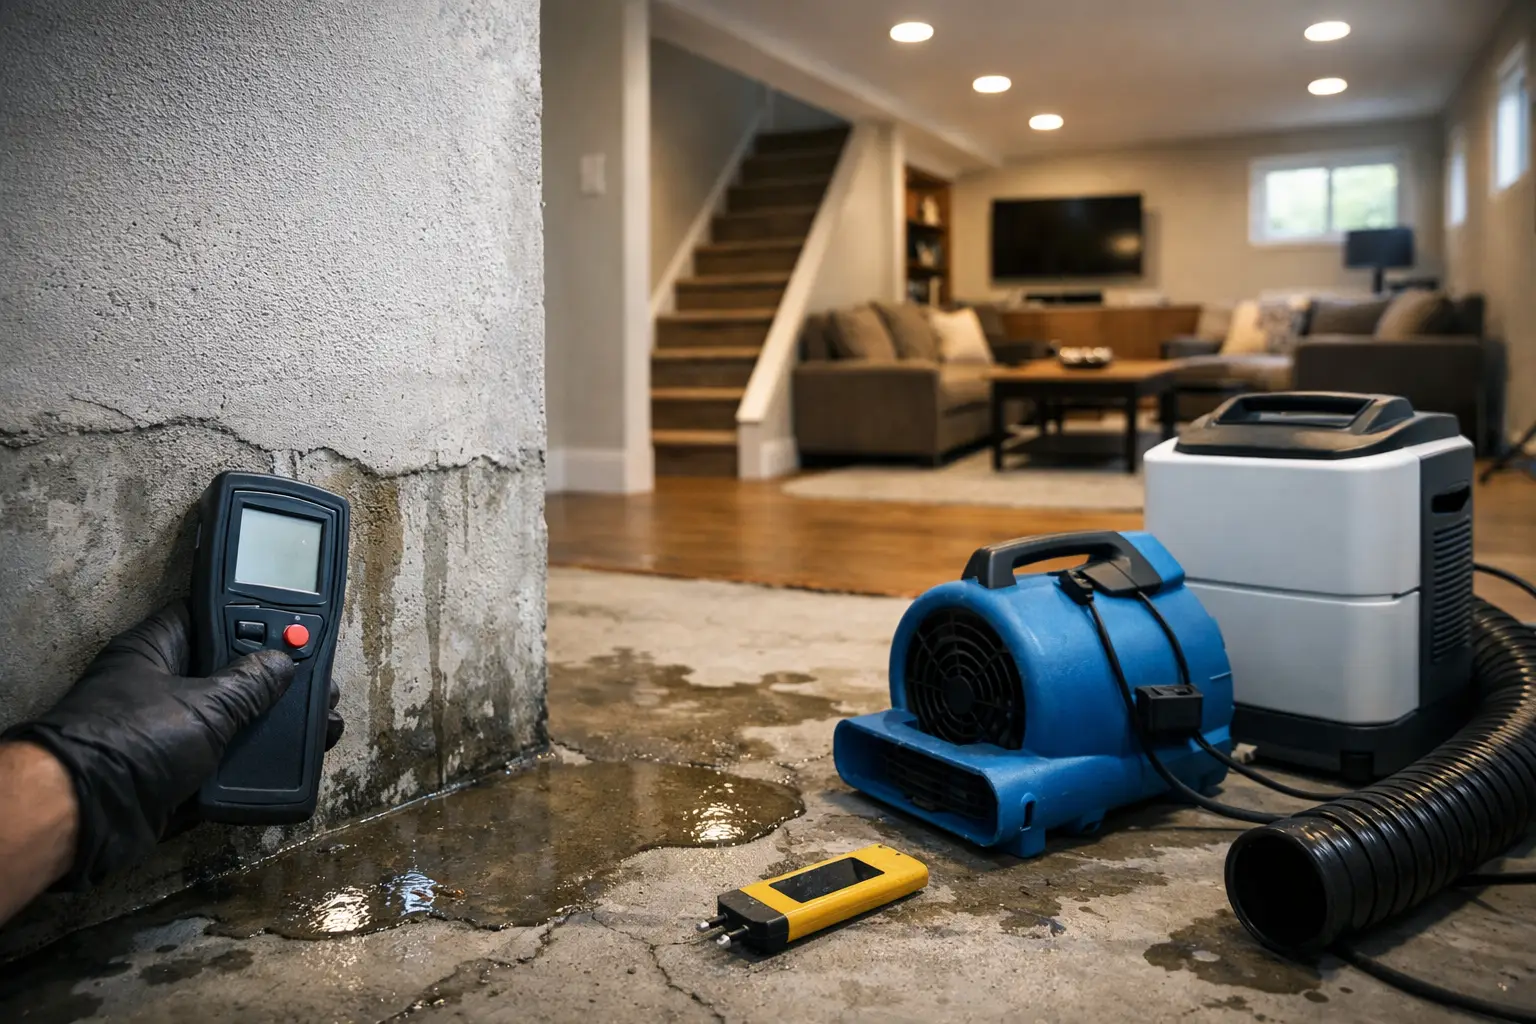
A finished basement can add a family room, home office, guest space, or workout area to your home. But if the room smells musty after a storm, shows white residue on the walls, or feels damp in summer, finishes should not be the first priority. This basement moisture control guide explains how to identify the source of the problem and prepare the space for a remodel that will hold up over time.
Moisture control is not one product or one repair. It is a system that starts outside the home, continues through the foundation, and includes the way the basement is insulated, ventilated, and finished. Addressing that system before construction protects your investment, your indoor air quality, and the comfort of the rooms above.
Start With the Signs Your Basement Is Taking on Moisture
Water does not always enter a basement as an obvious puddle. In many homes, moisture appears gradually and is easy to overlook until new flooring, drywall, or trim begins to fail. Look closely for a musty odor, peeling paint, rust on metal components, dark spots on framing, warped baseboards, or efflorescence. Efflorescence is the chalky white mineral deposit left behind when water moves through concrete or masonry and evaporates.
Pay attention to timing as well. A damp area that appears only after heavy rain points to drainage or foundation water intrusion. Condensation on pipes, windows, or cool foundation walls during warm weather can signal high indoor humidity. Water at the base of a wall during snowmelt may reflect grading, downspout, or exterior drainage issues.
Before planning a basement remodel, document where and when you see these signs. A clear record helps determine whether the problem is isolated to one wall or part of a larger moisture pattern.
Find the Source Before Choosing a Fix
The right solution depends on how moisture gets into the space. Covering a damp wall with waterproof paint or building a new finished wall in front of it may hide the symptom, but it will not solve the cause.
Exterior drainage problems
Most basement water issues begin outside. Rainwater should move away from the foundation, not collect beside it. Soil that slopes toward the house, short downspouts, clogged gutters, damaged gutters, and landscaping that traps water can all send unnecessary moisture toward foundation walls.
Walk around the house during or shortly after a hard rain. Look for standing water, overflowing gutters, downspouts that discharge near the foundation, and areas where the grade has settled. Extending downspouts and correcting the slope can be a straightforward repair, but major grading work may be necessary if water consistently moves toward the home.
Cracks, joints, and foundation openings
Small foundation cracks are common, particularly in homes that experience seasonal temperature changes and soil movement. Not every crack means structural trouble, but any crack that leaks, grows, or is accompanied by wall movement deserves professional evaluation.
Water can also enter through the joint where the foundation wall meets the footing, around utility penetrations, through window wells, or near an improperly sealed exterior opening. The repair method should match the location and condition of the leak. A surface sealant may be appropriate for a minor issue, while active seepage can require crack injection, exterior waterproofing, drainage improvements, or a sump system.
Interior humidity and condensation
A basement can feel damp even when no rainwater enters. Concrete walls and floors remain cool, especially in below-grade spaces. When warm, humid air reaches those surfaces, condensation can form. Laundry equipment, bathrooms, unvented appliances, poor ventilation, and an oversized air conditioner that does not run long enough to remove humidity can all contribute.
A properly sized dehumidifier can help maintain a more comfortable environment, especially during humid Midwest summers. Still, a dehumidifier is not a substitute for repairing leaks. It manages moisture in the air, while waterproofing and drainage address water coming through the building envelope.
Make Exterior Water Management the First Line of Defense
The most durable basement moisture strategy starts with keeping bulk water away from the foundation. Clean gutters regularly, repair sections that overflow, and make sure downspouts direct water well away from the house. Check that splash blocks or buried extensions remain clear and do not discharge toward a neighbor’s property or a walkway where water can freeze.
Grading matters just as much. The soil around the foundation should generally slope away from the home so surface water does not pool against the walls. Mulch beds, patios, and landscaping can change drainage over time. A decorative planting bed that looks level may actually hold water next to the foundation after a storm.
Window wells require special attention. They should be clean, drained, and properly covered where appropriate. Leaves and debris can block drainage and allow water to rise against a basement window, creating a leak that appears to come from the wall itself.
Plan for Water That Reaches the Foundation
Some homes need more than better gutters and grading. If groundwater pressure or recurring seepage affects the basement, an interior drainage system and sump pump may be the appropriate solution. These systems collect water below the slab or along the perimeter and direct it to a sump basin, where a pump moves it safely away from the home.
A sump pump should be tested regularly. Its discharge line needs a clear path outdoors, and a battery backup can be a wise addition in areas where storms may cause power outages. The trade-off is cost and occasional maintenance, but it can provide meaningful protection for a finished basement and the belongings stored there.
Exterior waterproofing is another option, particularly when foundation walls require repair or excavation is already planned. It can be highly effective because it manages water before it reaches the wall, though excavation can be more disruptive and expensive than interior solutions. The best choice depends on site conditions, access around the home, the foundation type, and the extent of the problem.
Use Basement-Smart Materials During the Remodel
Once moisture sources are corrected, material selection becomes the next layer of protection. Below-grade spaces need finishes that can handle more moisture exposure than an above-ground living room.
Avoid installing standard wood framing, drywall, carpet, or laminate flooring directly against damp concrete. Those materials can trap moisture and create conditions for mold growth. Instead, a finished basement should include a suitable separation between concrete and finished walls, insulation selected for below-grade use, and a vapor-management approach that fits the foundation assembly.
Flooring choices also deserve careful thought. Luxury vinyl, tile, and certain engineered flooring systems are often more forgiving than solid hardwood in a basement. Carpet can still work in a dry, well-controlled space, but it carries more risk if seepage or a plumbing leak occurs. If comfort underfoot is a priority, consider the trade-off between a softer finish and the ability to dry and clean the area after an unexpected water event.
Basement bathrooms and wet bars require their own planning. Plumbing connections, supply lines, drains, and appliances should be accessible where possible, with water-resistant materials used near sinks and showers. A small leak behind a finished wall can cause significant damage if it goes unnoticed.
Do Not Finish Walls Until the Basement Is Dry
A common remodeling mistake is starting with studs and drywall because the basement looks dry on the day construction begins. Moisture problems are often seasonal. A wall that appears fine in January may show condensation in July or seepage during spring rains.
Before closing walls, verify that drainage repairs are complete, visible cracks have been addressed, and the space has remained dry through conditions that previously caused trouble. If mold is present, it should be properly removed and the moisture source corrected before new finishes are installed. Painting over staining or applying a fragrance does not make the area healthy or ready for renovation.
Professional moisture testing and a careful site assessment can help distinguish minor humidity concerns from conditions that require waterproofing work. For a major basement renovation, that early evaluation is far less costly than removing new finishes later.
Build Moisture Control Into the Design
A well-designed basement makes future maintenance easier. Plan access panels for shutoff valves, mechanical equipment, and sump components. Keep storage elevated off the floor where practical. Use exhaust ventilation in basement bathrooms, and consider how HVAC supply and return air will serve every finished room.
If your basement includes a bedroom, office, or family room, comfort matters as much as appearance. Proper insulation, air sealing, and humidity control help prevent cold walls, stale air, and that familiar basement smell. They also make the finished space feel like a true part of the home rather than an afterthought.
For homeowners planning a full renovation, JG Home Services can help coordinate the practical details that protect the finished result, from evaluating existing conditions to selecting materials suited to the space. Clear planning before construction helps keep the project on time, on budget, and built for daily use.
A basement should give your family more room to live, not another area to monitor every time rain is in the forecast. Resolve moisture concerns first, then move forward with a design that lets you enjoy the space with confidence.