
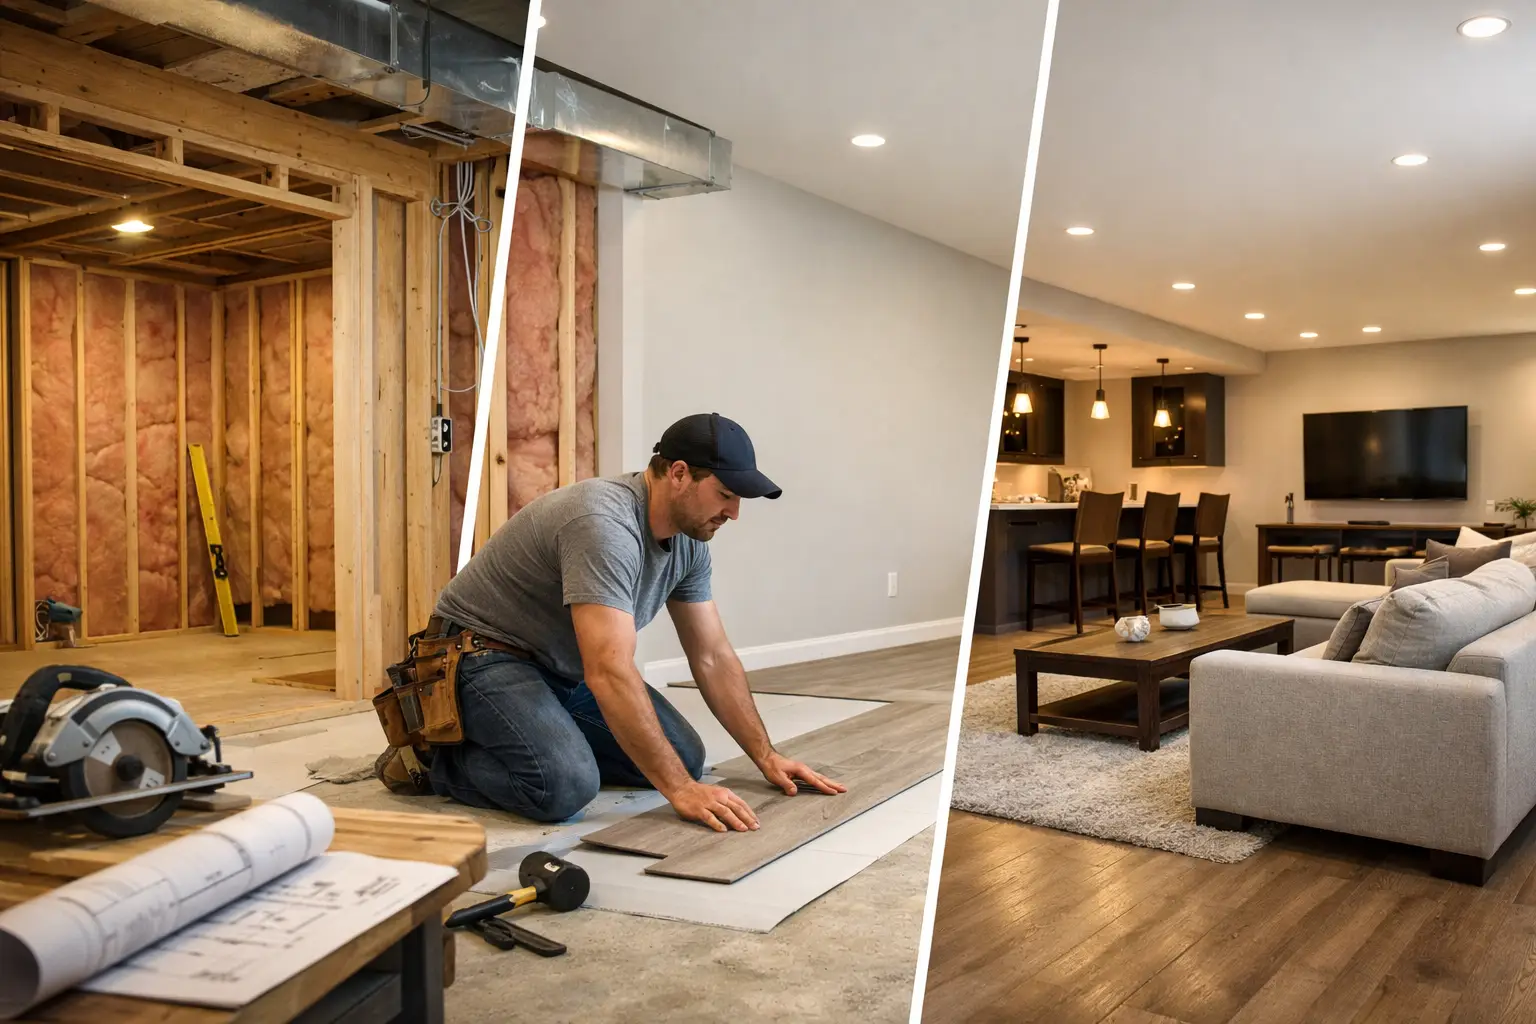
A basement can become the most flexible square footage in your home – a family room, guest suite, home office, workout area, or place for the kids to spread out. But learning how to finish basement properly starts with a less exciting question: Is the space ready to be finished? Skipping that question is how homeowners end up covering moisture problems, building around low ceilings, or investing in a room that never feels comfortable.
A successful basement remodel is built from the ground up, with the right planning, protection, and professional execution. Here is what should happen before the first wall is framed.
How to Finish Basement Properly Starts With Moisture Control
Concrete basement walls and floors are different from the walls upstairs. They are in direct contact with soil, which means they can hold and transfer moisture even when there is no obvious standing water. A basement that looks dry on a sunny day may still have humidity, condensation, or water intrusion during a heavy storm.
Before finishing anything, inspect the foundation walls, slab, windows, and utility areas. Watch for peeling paint, white mineral deposits, musty odors, cracks, damp carpet, or signs of previous water damage. Also look outside. Gutters that overflow, downspouts that drain near the foundation, and grading that slopes toward the house can all send water where it does not belong.
The right solution depends on the source. It may involve improving drainage and grading, repairing cracks, installing or servicing a sump pump, or addressing plumbing leaks. Interior waterproofing can help in some situations, but it should not be treated as a substitute for correcting exterior drainage problems when those are the cause.
Do not frame, insulate, or install flooring until the basement is reliably dry. Finishing over a moisture issue can trap mold behind new materials and lead to expensive demolition later. This is one area where doing the job in the right order protects both your home and your investment.
Plan the Layout Around What the Basement Can Support
A basement plan should fit the way your household lives, not simply fill every available wall with rooms. Start by deciding what the space needs to do. A large open recreation area may be the priority for one family, while another needs a quiet office, a full bathroom, and a guest bedroom.
Then work around the fixed elements. Support posts, beams, mechanical equipment, plumbing stacks, electrical panels, and HVAC ducts influence the layout. Some of these can be relocated or concealed, but each decision affects cost, ceiling height, access, and future maintenance.
Keep mechanical systems accessible. A furnace, water heater, shutoff valve, cleanout, or electrical panel should never be buried behind a finished wall with no practical way to service it. Thoughtful access panels and utility-room planning preserve a clean appearance without creating a problem for future repairs.
Ceiling height deserves early attention as well. Ductwork, soffits, and structural beams can make a basement feel tight if they are handled poorly. Sometimes a soffit is the most sensible option. In other cases, rerouting a duct or choosing recessed lighting helps preserve a more open feel. A professional design consultation can identify these choices before construction begins, when changes are far less costly.
Plan Bedrooms and Bathrooms Carefully
Adding a basement bedroom can be valuable, but it comes with safety requirements. In most cases, a sleeping room needs a code-compliant emergency escape and rescue opening, commonly called an egress window. The opening, window well, clearance, and ladder requirements must all be considered. A small existing basement window may not qualify.
Bathrooms require a different kind of planning. The location of existing drains and plumbing lines matters, especially if the new fixtures sit below the home’s main sewer line. Depending on the layout, the project may need a sewage ejector system or other specialized plumbing solution. It is possible to create an excellent basement bathroom, but it should be designed around the home’s actual infrastructure rather than assumptions.
Confirm Permits, Codes, and Inspections Before Construction
A basement remodel often requires permits, particularly when it includes new electrical circuits, plumbing, HVAC work, bedrooms, structural changes, or finished living space. Requirements vary by municipality, so homeowners in communities such as West Dundee, Huntley, Sleepy Hollow, and Gilbert should verify what their local building department requires.
Permits are not paperwork for paperwork’s sake. They help confirm that important work is completed safely and that the finished space meets applicable building codes. Electrical outlets need proper protection, bedrooms need safe exits, smoke and carbon monoxide alarms may need to be updated, and insulation requirements may apply to foundation walls and rim joists.
Professional remodeling teams coordinate the needed permits and inspections as part of a managed project. That process gives homeowners a clearer path from design through final approval and helps avoid the delays that occur when work has to be opened up or corrected.
Build the Basement Envelope for Comfort and Durability
A finished basement should feel like part of the home, not like a decorated storage room. The wall assembly, insulation, air sealing, and humidity control play a major role in whether that happens.
Insulating directly against foundation walls requires materials and methods suited to below-grade conditions. Traditional fiberglass insulation placed against damp concrete can absorb moisture and lose effectiveness. Rigid foam insulation, closed-cell spray foam, or purpose-designed basement wall systems are often better choices because they help manage heat loss and reduce the chance of condensation. The best option depends on the foundation condition, local code, budget, and the wall system being installed.
Air sealing the rim joist area is equally important. This is a common place for drafts and heat loss, and it can make the whole basement feel colder in winter. Proper insulation and air sealing also reduce the workload on your heating and cooling system.
Humidity should be addressed as part of the design, not after the room feels clammy. A properly sized dehumidifier, HVAC adjustments, or dedicated ventilation may be needed. The goal is a stable, comfortable environment that protects finishes, furniture, and indoor air quality.
Install Electrical, Plumbing, and Lighting Before Closing Walls
Once the layout is approved and the basement is dry, rough-in work comes next. This includes electrical wiring, plumbing lines, HVAC modifications, low-voltage wiring, and any framing that needs to happen before insulation and drywall.
Basements benefit from more lighting than many homeowners expect. Natural light is often limited, and a single ceiling fixture can leave corners dark. A layered lighting plan usually works best: recessed lights for overall illumination, task lighting at a desk or wet bar, and accent lighting where it adds warmth or highlights a feature wall. Dimmer switches make the space more adaptable for movie nights, work, and everyday use.
Plan outlets based on how the room will actually be used. A media wall, office, treadmill, game table, or future bar area may need more power than a basic open room. Adding circuits and outlets during the rough-in phase is much easier than opening finished drywall later.
Choose Finishes That Make Sense Below Grade
A basement does not need to look utilitarian, but it does need finishes that can tolerate its environment. Flooring is a key example. Carpet can make a family room comfortable, yet it may not be the best choice in a basement with a history of moisture concerns. Luxury vinyl plank, tile, and other water-resistant flooring options are often practical choices that still deliver a finished, high-end appearance.
Use moisture-resistant drywall where appropriate, especially near bathrooms or areas with greater humidity. Select trim, paint, and cabinetry with durability in mind. If you are including a wet bar or built-ins, plan for the possibility of future service access to plumbing and electrical connections.
This is also the stage where the room becomes personal. A well-designed basement can include custom storage, a built-in entertainment center, a reading nook, or a durable play area. The best features are the ones that solve a real need for your household and support the way you plan to use the space for years.
Work With a Contractor Who Manages the Details
Finishing a basement properly involves several connected trades and decisions. Moisture protection affects insulation. Layout affects plumbing and egress. Ceiling plans affect lighting and HVAC. A labor-only approach can leave homeowners coordinating those details on their own, which is where missed steps and budget surprises often begin.
A full-service remodeling contractor can help evaluate the space, develop a practical design, supply materials, coordinate permits, schedule skilled trades, and maintain communication throughout construction. At JG Home Services, that end-to-end approach is designed to give homeowners confidence that their basement is being built with care, on time and on budget.
The right finished basement should feel comfortable from the first day and remain dependable long after the project is complete. Start with a careful evaluation, make decisions that respect the home’s structure and conditions, and build a space your family will be glad to use every day.